
Any way, our first lecture video was full of stuff! Below is what was discussed in it.
- Simplifying workspace, short cuts
- Basic UI elements
- Preferences: Undo = infinite
- Tracking and Zooming in the different views
- NURBS definition
- NURBS Primitives: Sphere, Cylinder, Torus, Cone
- Basic interaction tools: Select (q), Move (w), Rotate (e), Scale (r)
- Panel display options: 1/2/3, wireframe (4), shaded (5), textures (6), lights (7)
- Marking Menu: what the heck?
- Channel Box: Translate, Rotate, Scale
- Outliner: part 1
- Saving versions - .ma vs. .mb: Always save as .ma
- Using the integration “Help” feature in Maya for tutorials, reference, etc.
- Character / Tools section: downloading and opening .zip files
- How to make a .zip file for upload
- Submit your work (Assignment Sessions)
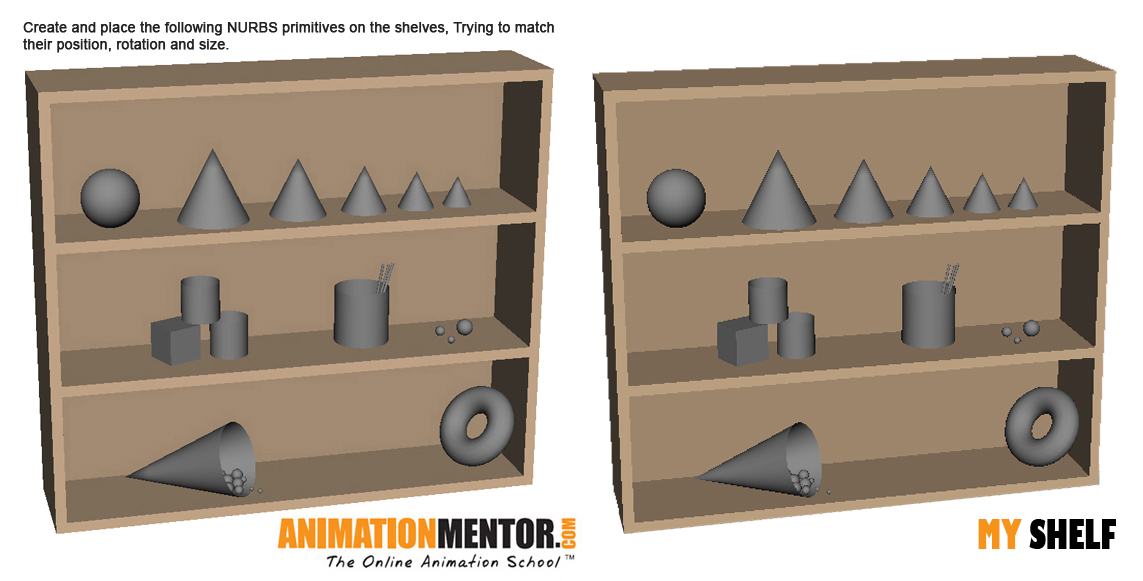
From what we were taught in the lecture we were given an assignment. This was to create a series of NURBS and transforming them to match an image we were given. Then save it as a zip file and upload it. I took my time with this assignment as I wanted it to be perfect or as close as I could get any way. (Some of my perfectionist habit coming through). I took Screen Shots as I made each NURBS object so I can show you how I did it and where I started but firstly here is the image we were given and my final version.
Here are my progress shots with some close ups and even when I used a camera to check that balls weren't going through the cone or other balls.


 To do this assignment I actually came up with an idea. I downloaded an app called 'Afloat'. It basically allows you to make some software transparent so I made the image we were given transparent and then placed it over maya and then adjusted each object to fit over the image. I also just put the image over the top normally and kept minimising and opening it over maya to check it looked right but it was a huge help in making it as exact as possible. I did of course make sure through other views that they were sat on the shelf and not going through other objects though.


0 comments:
Post a Comment