The best place to find out about them is in the book,
The Illusion of Life: Disney Animation
by Frank Thomas and Ollie Johnstone but below I have given brief descriptions of what each means.
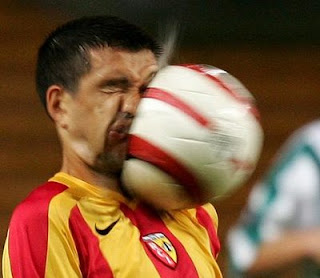
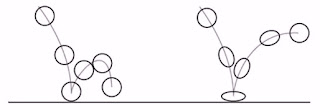
Squash and StretchThis action gives the illusion of weight and volume as a character moves. The best example of this is with a ball.
 Anticipation
This movement prepares the viewer for major action that the character is about to do. You do it in real life. Think about how you jump. Do you just do it or do you bend your legs and swing your arms back in anticipation for the jump?
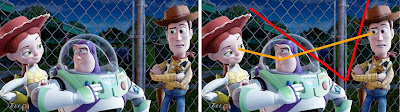
StagingThis is where you use props, characters and camera angles to help tell the story, direct the eye and create a feeling for the scene. For example, here Woody and Jessie are either side of Buzz creating a triangle that points down to Buzz as he is the main focus of this scene but the triangle falls towards Woody creating an uncomfortable space to show Woody’s feeling at this moment.
 Straight-ahead and Pose-to-Pose animation
Straight ahead is used for actions where spontaneity is important. Pose to Pose animation you plan out your animation using poses. The best way to do this is by drawing thumbnails to work out your scene.
Follow through and overlapping actionWhen an object or character comes to a stand still you get a follow through and overlapping action. For example if a character stops running their hair will go slightly go further than the character.
Slow-out and Slow-inThis softens the action. Making it more lifelike. A good way of doing this is by making sure no movement is totally linear in the graph editor, that way you will avoid a robotic look.
 Arcs
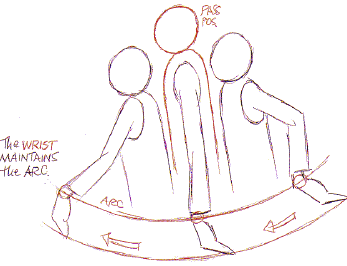
ArcsMost actions follow an arc or circular pattern rather than being constrained to one axis. Arcs make actions more natural action and helps disguise inbetweening that 3D software makes.
Secondary ActionThis is to add more believability. It basically reinforces the main action. An example of this is when a cat is walking it might be swaying its tail or twitching its ear. If you look at a real cat it won’t just be walking it will be doing other stuff with its body too.
TimingAn important piece as if timing is wrong the whole thing will look wrong. To get better at this, watch reference footage and repeatedly playblast and watch your animation to make sure your getting it right. Also, get views from other people, they may spot a flaw in the timing that you may not.
Exaggeration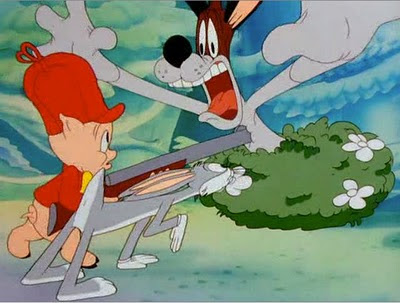
One of my favourite as I grew up around cartoons such as Tom & Jerry and the Looney Tunes, where they sometimes really exaggerate their characters actions. Sometimes exaggeration is necessary though but not always and you shouldn’t really over exaggerate as things can get silly… well unless that's what your after ;)
Solid DrawingAre interesting with well-proportioned shapes and a good sense of weight and volume. Apply these characteristics to 3D models and poses.
AppealThis is the visual quality that makes a character or object attractive, interesting or inspiring. Don’t just think cute or beautiful though, this can be applied to monsters and villains.